
Today I thought I'd show you my counter tops. This was one of the first things I did when we started working on the kitchen. I decided to paint the formica. This idea used to horrify me because I know that paint can be touchy and and can damage easily (my philosophy for Pinterest tutorials is, "Question everything!"), but it got to the point where my kitchen was so ugly and out-dated that I just shrugged my shoulders and went, "Eh. It's worth a shot." I had no back-up plan for if the counters didn't turn out.
It's been about three months since I painted the counters, and I feel that enough time has passed that I can give you a pretty honest review of this process.
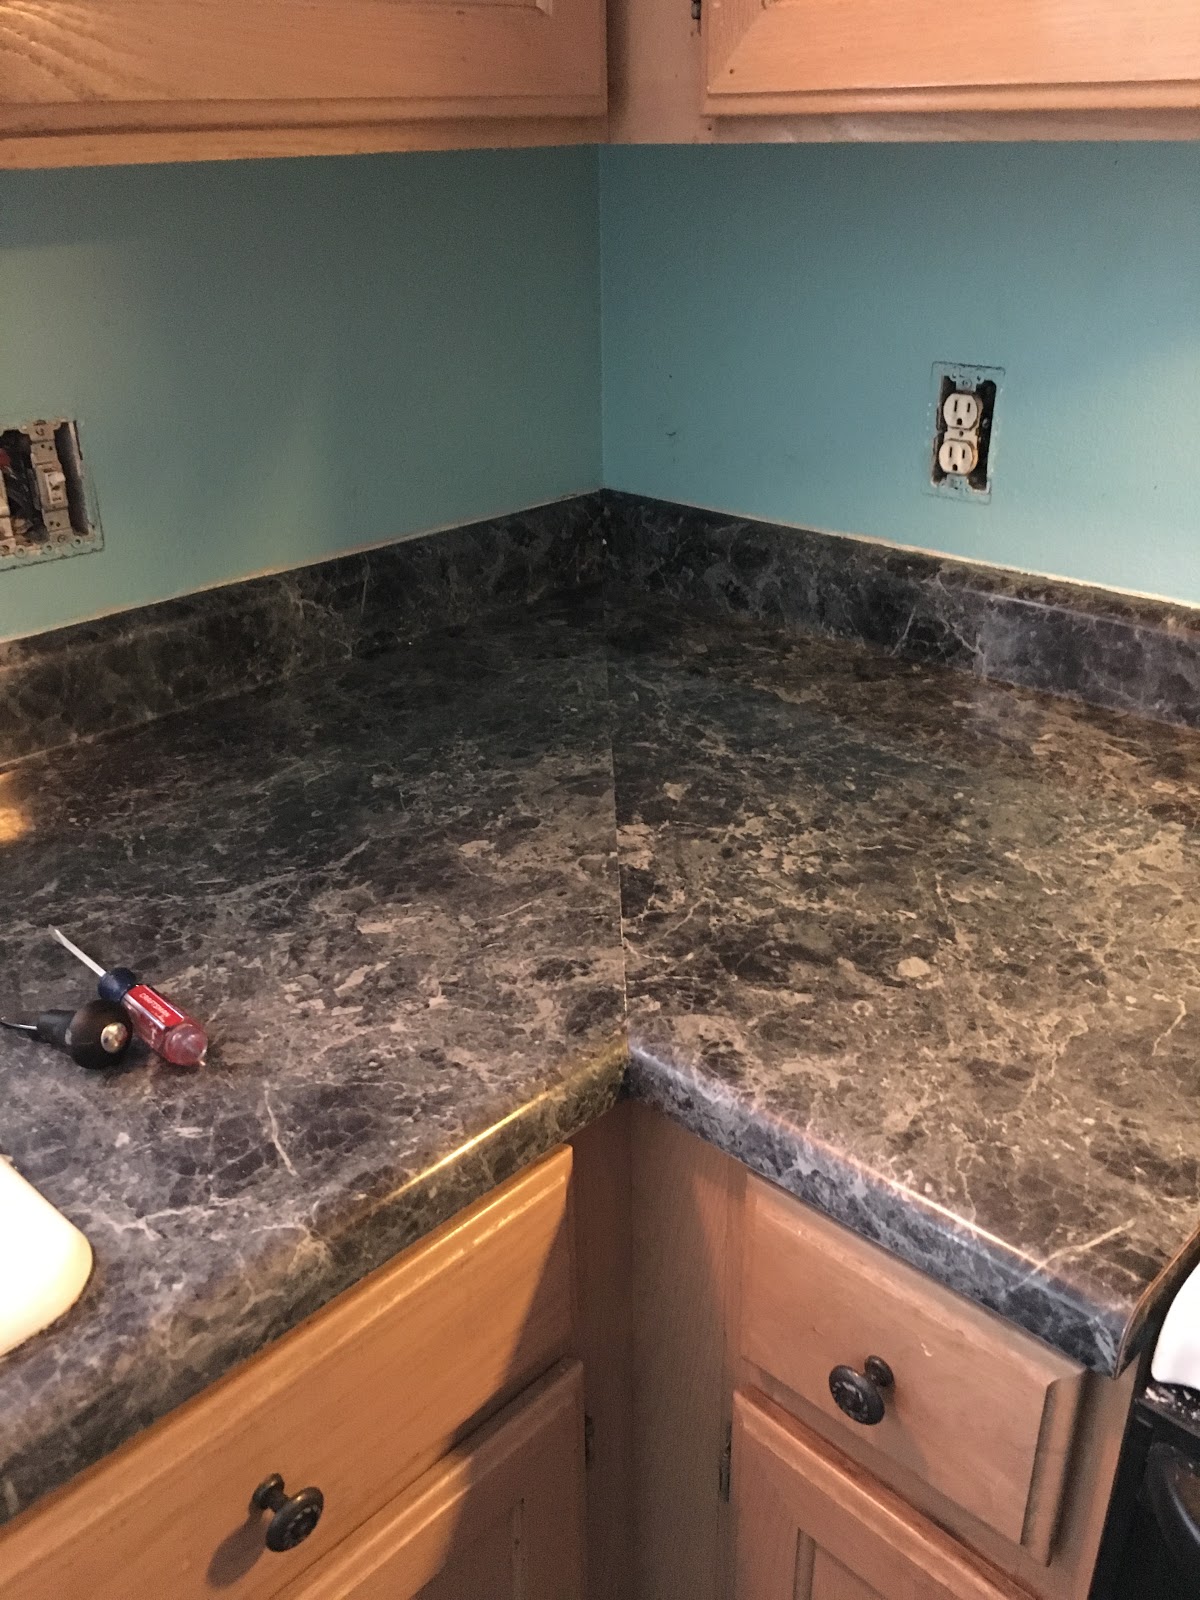
Here is what my kitchen looked like before I did the counters (note that these photos were an afterthought, so I took them after I'd already started painting the walls. They are also from my cell phone - because this ain't no home renovation blog).

Here is the formica up close:
Step 1: Sand the Formica
The first thing I did was clean the formica really well and then sand it lightly. I don't remember what grit I used. It was coarse enough to remove some of the shine from the formica but not coarse enough to leave big grooves. I just used what I had on hand.
I also removed the caulk from around the sink and from where the counter tops meet the wall. This isn't necessary (you might not even have caulk), but our caulk was looking pretty nasty, so I wanted to get rid of it and put some fresh stuff on. This was a tedious process. I used a Goo Gone product for caulk, and I spent hours cutting the caulk with a blade and then scraping off the residue.
Step 2: Prime
The next step was to cover the formica with a tintable primer. I taped off the sink, but I didn't worry about the walls since we would be caulking and painting anyway.
I ended up not tinting the primer. I thought I wanted a little white to show through, but in hindsight, I would probably tint it to a slightly off-white or light gray - something that's not so white - because I later ended up coating most of the white with a different color.
Here is what the tintable primer looked like on the counter:

I used a brush in the corners and small roller everywhere else. I did two coats.
Step 3: Start Adding Color
After the primer dried, I started experimenting with color. This is a process where you have to be flexible. If you have something specific in mind, you might have to mess around with lots of different colors and techniques to get what you want. You may also not get what you want at all, so this project is definitely better for someone who's okay with "playing it by ear."
I knew that I wanted my counter tops to have some beige, taupe, and gray tones. I bought several bottles of acrylic paint (this is where I wasn't sure if I could trust this task - how can cheap craft paint work on counter tops?) I bought some tan, some gray, and some black, and I knew I could mix colors if necessary. I also bought a natural sponge.
I cut the sponge into four pieces. I experimented with the colors for a while, trying to find a shade that I could sponge onto the white to make it not so bright. I tried the tan and didn't like it. Then I tried a few different grays and didn't like any of them, either. Then I decided that I trust the color I'd chosen for my walls, so I might as well use that, so I sponged on a layer of the latex wall paint so the white only showed through slightly.

Then I sponged on some gray.

At this point, I thought it looked "good enough," and I considered just leaving it, but I wanted to see how it would look with a little bit of black.
When working with the colors, I found that it took a few tries to get the right color, and it also took a few tries to figure out how to work the sponge. I kept a wet towel nearby so I could sponge on some paint and then wipe it off if I didn't like it. It helped to lightly dip the sponge in the paint and then tap it several times on a paper plate until the paint thinned out slightly and absorbed into the sponge. I also needed to be careful to turn the sponge as I went so I didn't get repeated sponge patterns. I also didn't want it to look "too sponged."
I felt like the black was too stark, so I mixed a little bit of gray in it just to lighten it slightly. Once I got the right shade, I sponged it on very lightly so there is just a little bit of black in the counters.

Step 5: Top Coat
I let the acrylic dry for about two hours, and then I started the top coat. I used polycrylic in a satin sheen. I applied it with a brush and did three coats with about two hours drying time in between.
When the final coat was drying, Scotty was working on moving the cabinet over the stove, and one of the adjacent cabinets fell off the wall and hit the counter on the way down. I was surprised that, even with slightly tacky paint on the counter, the cabinet did minimal damage. This is when I started to believe that painting counter tops might actually be okay.
Step 6: Lightly Sand
After the final coat dried for a day, I took some fine grit sand paper and went over it lightly to remove and bubbles or bumps. The instructions for the polycrylic says that you should sand in between each coat for best results, but I only sanded at the end.
Here is what the final paint job looks like up close:

And here's a shot of the kitchen after I'd finished painting the counters:

Overall, I'm very surprised and happy with the results. I use cleaners on the counter, I scrub them, and I even use crock pots on them. They're doing just fine!
If this is something you are considering doing, here is what you should know:
This is a great way to update your counters on a budget. I think I spent about $50. Most of the expense was the primer and the top coat. I have quite a bit leftover, so I will be able to use it for my bathroom someday. My formica is over twenty years old, so it's lived a good life. I figured I had nothing to lose. In my opinion, this is a great option if you want to update your kitchen but can't afford to have new material installed - which is the case with us. I really don't care what my counters are made of as long as they hold up well, but I do care about the color. I'm hoping to get at least ten years out of them. Now that I've been through the process, I know I can easily paint them again if I ever want to.
Even though I really like how they turned out, they do look painted if you look at them up close. You can see some light brush strokes from the top coat. It's not horrible, by any means, but for some people, this will be an issue. Sanding in between coats will help with this, but I didn't sand in between coats. I just sanded at the end.
You can't really guess what the paint will look like until you're elbow deep in the process. It's a project of trial and error. Other tutorials say, "You can't really go wrong..." but you can. The good thing is that it's easy to fix if you don't like how it's turning out. Flexibility is a must!
The counter tops will still have the same problems that formica has. If your kid runs a knife across it, it will leave a mark. If your kids spills water colors on it, it can stain. Both of these have happened at our house, but the paint isn't to blame.
In hindsight, the only things I might do differently are:
- Possibly tint my primer to a shade of off-white
- Use some acrylics that have some sparkle. The black paint I got had a little sparkle to it, but when I toned it down by adding some gray, it really dulled the sparkle. In granite and quartz counter tops, you can see a little bit of sparkle.
I will be sure to update this post if anything ever changes with my counters, but as of right now, I am very happy with them, especially now that my cabinets are painted (I'll post about my cabinets at a later time). I'll also come back and add a picture of the counters with the finished kitchen when it's ready.

3 comments:
I've been waiting patiently for some pictures of your kitchen. I'm amazed at the difference in the look of the counters. Can't wait to see the whole thing.
That looks really good. I never knew painting formica was even a possibility. What a great, way less expensive way to upgrade your kitchen.
Ok. Wow. I want to do this.
Post a Comment